
Strip Piecing Hourglass Blocks, Four-at-a-Time

Hourglass quilt blocks are super fun and are great for playing with negative space in your quilts. Here is a tutorial for how to create four-at-a-time Hourglass blocks, using strip piecing to save time.
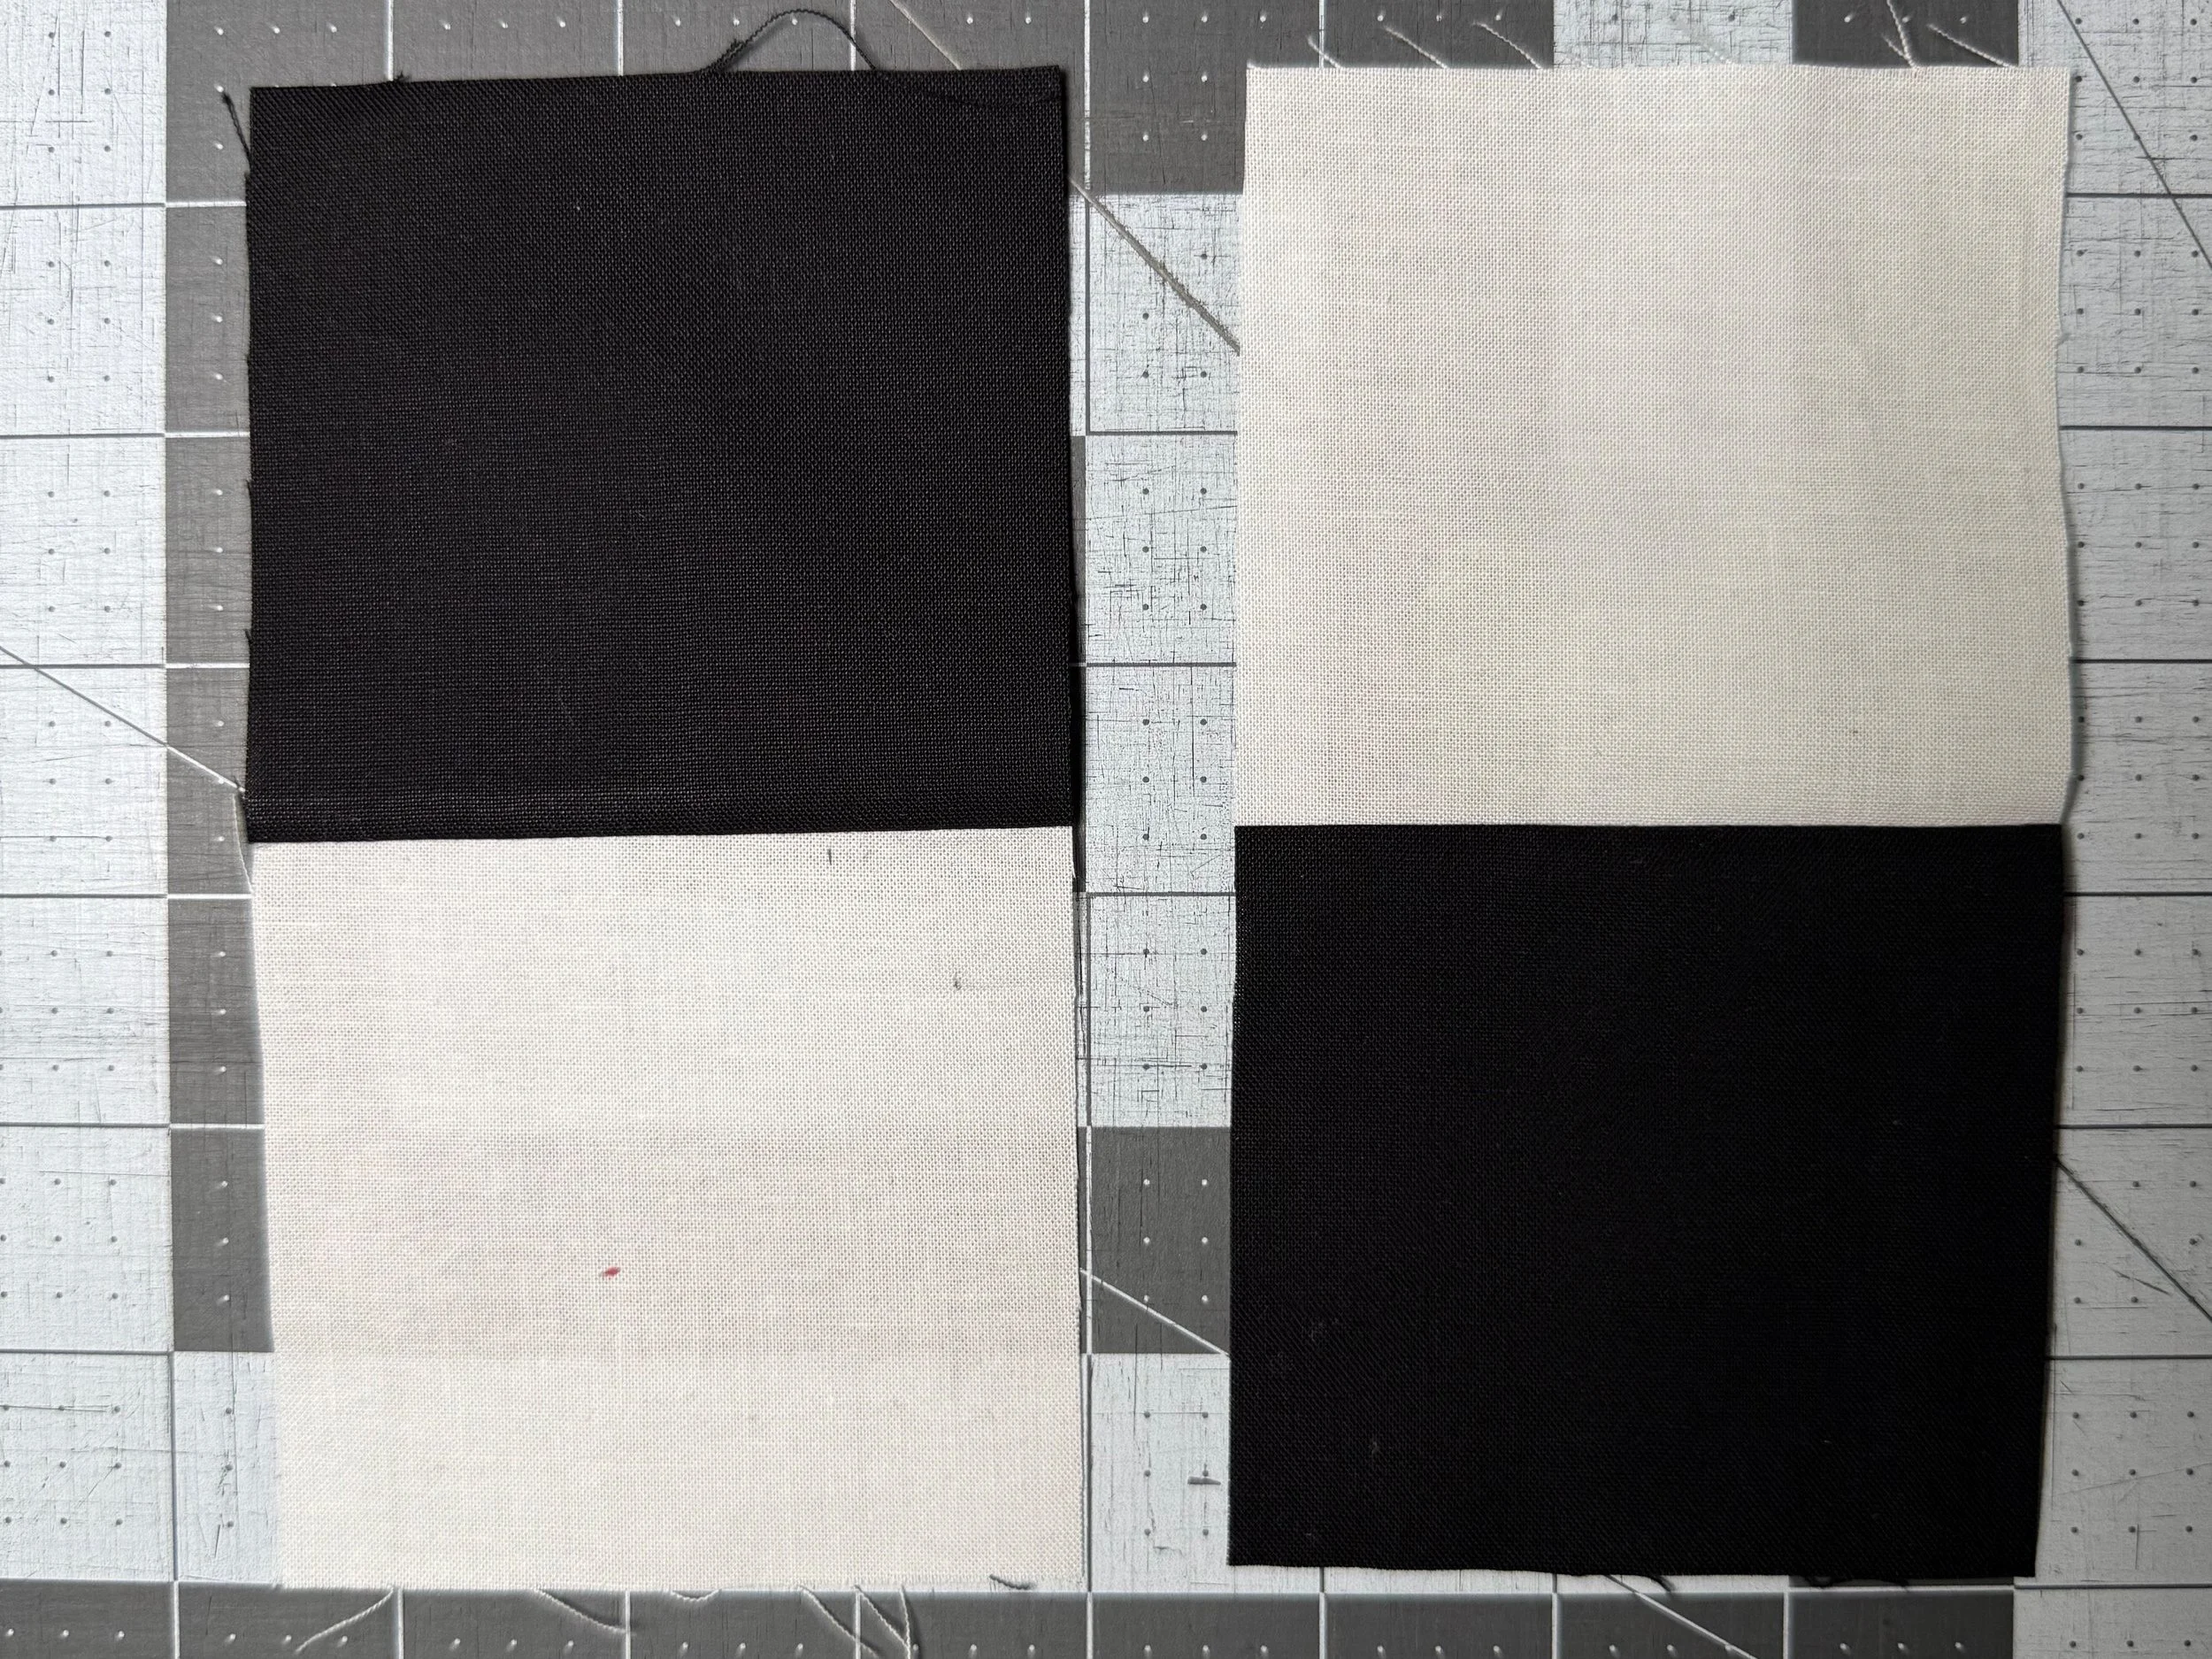
Step 1: Cut equal strips of two different color fabrics. Strip piece, sewing long sides together.
Strip measurements based on finished Hourglass block size are included at the bottom of this post.

Step 2: Sub-cut the entire strip, leaving you with sub blocks of two equal size squares.
(For sub-cut measurements, use the same width of the individual strips in Step 1 - so if Step 1 strips were 3” x WOF, sub-cut Step 2 pieced strips using 3” measurement)

Step 3: Sew two sub-blocks together to create a Four Patch block. Make sure to alternate the colors.
Step 4: Take two Four Patch blocks and place them right sides together. Making sure that opposite colors are stacked on top of each other. In this case, black on top of white and vice versa.


Step 5: Sew a ¼" seam along the outside edges of the blocks.

Step 6: Cut twice diagonally across the block from corner to corner.

Step 7: Press each block open and VOILA!
Trim to desired size. The Wing Clipper ruler can help with accurate trimming.

Four-at-a-Time Hourglass Block Measurements
(Measurements include slight overage so you will need to trim finished hourglass block to exact size)

Let me know if you try it out!